Thursday, October 27, 2011

Happy Hangers


Want to really spiff up your closet and be kind to your clothes in minutes?
It's easy and low cost, too!

Toss out these (run quickly and get rid of them forever!)


and these (I know, we all have them)
and yes, even these

Okay, maybe don't throw them all away, they're so beautiful. But, not too many, ok?


Then, hang all your clothes on the same hanger -- same color, same kind.
These flocked hangers are really the best, best, best.

They hold clothes ON the hangers (no shoulders sliding off) which protects clothes from stretching and pulling and getting those "hanger bumps." Your clothes stay on the hanger, rather than falling on the floor (and you can cut off those straps in your clothes that always slip out into sight when you're wearing them). Having one uniform color really cleans up the appearance of your closet and takes your eye to your clothes, not your hodge podge of hangers.

I got mine at Costco, less than $10 for a box of 50, so they're economical, too. An easy, effective and inexpensive solution for any closet!

Wednesday, October 26, 2011

Move in a Morning

My son and daughter-in-law are moving. They are taking some of my sweet grandbabies with them. They didn't even ask permission!

Moving can be difficult but on many counts, but having an organized move can help a ton. When we last moved a house with 5 teenagers and lots of stuff, we were able to do it in a single morning (give or take . . .) Here are a few moving tips in case you're getting ready to pull up and move:
  1. As soon as you know you'll be moving, begin packing. Pack up holiday and out-of-season things, kitchen items you don't often use, books and so on. Work your way up to packing the most essential items just before you leave.
  2. Use as many boxes of equal size as possible. This allows for packing a truck easier. Megan bought boxes from Home Depot for their move, but free orange/apple boxes from your local grocery are good, too. EVERYTHING goes in a box. Don't leave things in flimsy bags or lose just to put in the car. Before you know it, you have way too many things not in boxes and that just complicates things.
  3. Label your boxes well. In my next post, you'll see more of this.
  4. The best packing material I have found is simple newsprint paper, available for a great price at paper supply stores. These large sheets protect valuables and are great for stuffing empty holes and you don't feel bad throwing it away at the end.
  5. When you begin disassembling furniture, carefully place the screws, bolts and small piecs in baggies and securely tape them to the furniture pieces -- the backs, the bottoms, around the rails, etc. This way you have them handy when you are ready to reassemble.
  6. Be sure to have everything packed by the morning of your move. Remember you friends and relatives are just there to "git 'er done" and not to pack the last minute things. (I forgot to empty the fridge!) Plan ahead so that you can have a small cooler and few bags packed with the things you will need -- clothes, food, snacks, sippy cups, bottles, toothbrushes, etc.
  7. Make a Moving Binder --- more on that in another post!
A little effort ahead of your move will make everything run more smoothly and a stressful life experience a little easier.

Monday, October 17, 2011

Fall Closet Reorganization


The leaves are falling and the weather is cooling off. It's time to rearrange your closet for winter. Remove all your spring/summer clothes that you won't wear during cold weather. If you have another spare closet, hang them there, otherwise box them up. Even if you have "room" in your closet, cleaning out what you won't be wearing keeps you focused on what you can wear and makes seeing what you have and what you need easier. Toss out or give away anything that is too old, too worn, doesn't fit well or you just won't wear.

Monday, October 3, 2011

Distraction Deterrent

The phone rings while you're cleaning the cupboard out and Sara needs you to make cupcakes for the School Bake Sale this weekend. You walk over to your calendar to write a note to yourself. Then you wonder if you have cake mix and off to the pantry you go. What a mess it is, so you start to straighten it as you are looking for the cake mixes and can't find them, but you do find the chili you were looking for last week and realize it's near it's expiration and you should add it to your menu plan and then the doorbell rings . . . remember the cupboard cleaning?!

It is so easy to be distracted by other things. One way to help yourself is to carry a small notebook with you. When the phone call comes, make a note to add the cupcakes and Bake Sale to your calendar. While you're cleaning and remember something else you need to remember, you can quickly jot that down. This distraction deterrent will allow you to stay at the task you're working on, while not forgetting all the other things you need to do.

Monday, September 19, 2011

New Classes Beginning!


Are you always looking for something because you can't remember where you put it?
Are you always running a little late and a little more scattered?
Does the question "What's for dinner?" strike terror in your mind?

Then

"From Out of Order to Living Life Organized"

is for you!


This series of 3 Organization Basics Classes

will help you learn how to

better organize yourself, your home and your family.

Thursdays, October 6, 13 and 20, 7:00 -9:00 p.m.

6256 West 10150 North, Highland, Utah

Organization Consultant, Christine Tippetts will help you learn valuable life skills in a comfortable home setting and see how you can create the same order in your own life and home.

Bring your family, bring your friends! Sign up now by emailing Christine at livelifeorganized23@gmail.com.

Cost for pre-registration for the 3 class series is $45 and includes exclusive organizational materials that you can’t get anywhere else including your own

personalized family binder!

Registration at the door is $55.

Please feel free to pass this invitation along to others who might be interested.

Thursday, September 15, 2011

Family Calendar


Today, I wanted to show you a fun idea for the version of the Family Message Board that we've talked about before. This is my daughter's family calendar:

Her boys are still quite young (six, four and two) and so a full-on headquarters board isn't needed yet. But this calendar is perfect for them. She used a regular 20x28 picture frame and on the back of the glass, drew the lines for the calendar with permanent marker. She used vinyl lettering for the days.

Each month she draws in the numbers with white board markers and uses simple pictures to help her boys know what is happening. She erases the days past so they know what day it is and how many days until they go to the zoo, or it's Dad's birthday.

It's fun to ask the boys because they know when t-ball practice is, when it's Sunday (indicated by a tie) and when they're coming to my house for a splash party! Great way to keep the family organized!

Thursday, September 8, 2011

Lunch Baskets

Over at Christine's Corner we've been talking about how to make lunches more enticing and nutritious (here and here). One thing that will help you with these new ideas is a Lunch Basket. This basket (or box) if filled with things that go into your lunches. This is especially great if your kids are filling their own lunch boxes. They can choose one of anything in the basket. You can have bags of chips, granola bars, fruit rolls -- whatever you want them to have. You can also have one in the refrigerator for things that need to stay cold. Kids love to pick things from their very own basket!

Thursday, September 1, 2011

Finish It Friday

Tomorrow is Finish It Friday --- a perfect day for catching up on all the loose ends you have laying around, completing those errands you've been meaning to do and beginning the weekend without anything hanging over your head.

Don't you have those few little things that you need to do, but you just keep putting off? Every time you walk by the glue gun that you mean to return to your sister but don't, you're draining energy. It just nags at you. Sitting there. So does that baseball cap that is dirty and disgusting and you put it buy the laundry room sink to wash, but just haven't done it yet. Energy drain!

So, make your list today and grab a cute basket (that ALWAYS makes Finish It Friday more fun) and start to put things in it that need your attention tomorrow. I'm going to put away the baby blanket I lent, exchange the shirt I bought for another size, take some jam to my sick neighbor, return the book I borrowed and get that DVD in the mail.

What are you going to do on Finish It Friday?

Thursday, August 25, 2011

Twas the Night Before, Part 2

Last week we looked at three ideas (Twas the Night Before, Part 1) for getting things ready the night before to make the mornings run more smoothly. With a little preparation before, everyone can be dressed, fed, ready for the day and out the door ON TIME -- all without tears, fears and head-explosions! Here are the final four suggestions for making an easy-breezy morning:

4. Prepare lunches the night before and have them waiting in the refrigerator for quick grabbing. (In future posts we'll examine just what you can make and pack early for delicious, creative lunches.) If you have to leave before breakfast, pack some granola bars, fruit and even peanut butter sandwiches to give you a good morning start. My daughter keeps some of things in her desk drawer so that she can eat when she has a morning break at work.

5. Write a list of things you need to grab in the morning right before you leave such as water bottles, lunches, potluck salad. Put the list with your bag and keys so you will see it in the morning.

6. Empty the dishwasher. How does that help in the morning? With the dishwasher empty, everyone can quickly load their breakfast dishes before leaving so that you aren't coming home to a sinkful of dirty dishes.
7. Set up for breakfast prep. Remember that every few minutes counts in the morning. The night before, lay out bowls, spoons, cereal boxes, sugar and whatever else you can do for the morning. Set the coffee maker, fill the tea kettle. Check to make sure you have the milk or eggs that you need.

A little bit of preparation the night before will make for a smoother morning and prevent unexpected disasters. Try it and see if things don't run a little easier for you.

Thursday, August 18, 2011

Twas the Night Before, Part 1

It's almost Back-to-School time and the pressure is heating up. Getting everyone out the door in the morning to school, to work, to the sitter can really be a challenge. But whether you're trying to get started on a school day or a weekend with soccer games, picnics and trips to Grandma's house, the key is THE NIGHT BEFORE!

Before turning in for the night, spend a few minutes preparing and you will save hours of valuable time in the morning. You'll leave the house calmer, on time and even with breakfast in your tummies! There are seven ways to achieve this easy-breezy morning, the night before. Here are the first three tips. Next week, we'll examine the other four secrets to a smooth morning.

1. Set out your clothing. This way you will know if jeans need to be washed or if the sweater you want to wear is still at the cleaners. Find the missing shoes and make sure you have clean socks. Need a jacket for an evening activity? Set it out, too. Kids love planning out their clothing and you will love fewer (and maybe no more) meltdowns over what to wear. You might even want to try this clever clothing bag geared to set aside clothing for the whole week. Great for kids!


2. Prepare your bags: Fill your diaper bags, briefcases, backpacks, and purses for the day. Make sure to pack the reports, forms and school assignments or sunblock, hats, cameras or whatever else you need for the day ahead.
3. Don't forget your keys. . . . and your phone and other valuable electronics. Lay them beside your bags (or pack them inside) so you won't spend valuable morning minutes looking for them.

Come back next Thursday for the final four secrets to make leaving the house a breeze.

Thursday, August 11, 2011

A Backpack Place

We're soon to be starting school again and that means bags and backpacks. Do your kids' backpacks always seem to be all over the place -- the couch, the floor, the kitchen table? Much as you may want them to, kids just usually don't take their bags to their rooms, so why not create a place for them to go that the kids might actually use.

Shelves with hooks or pegs are a great place for bags and packs. A simple shelf can be hung on walls near the door that the kids use or even placed directly on the door.


Over the door (wreath) hangers make a great place to hang backpacks on any door.

If you have the space, create shelves or cubby holes for the backpacks to go in.


Individual hooks -- decorative ones, can be hung on walls

and Command Hooks by 3M work well just about anywhere


Whatever method you use for hanging your bags and packs, the most important thing is that they are in a place that is close to where the kids come in and out of the house, they are at a height they can reach, and each person has their own hook.

You might even like one for yourself.

Thursday, August 4, 2011

Gunk Goo Gone

Today's post isn't so much about organization as cleaning, but I want to share this tip with you anyway. Do you get this gunky black stuff on your outside windows and doors? I hope it's not just me, but over the years, it just seems to grow and nothing I've tried gets rid of it.

Until now! I bought Goo Gone for when I was trying to remove scout badges for a shirt. It smells nasty and I've avoided using it much, but it occurred to me today, while cleaning the exterior windows and doors, to try it on this gunk.

I sprayed it on, let it sit for several minutes (that's key, you have to let it sit a bit) and then loosened it with a rag and soapy water. Then, blasted it with a hose on full force. Whalah!

Gunk is gone! Now, some of the gunk on the caulk, didn't fully come off, but I'm pleased with the results. The Goo Gone is really oily and you have to thoroughly wash the doors and windows afterward, but this really made a big difference! If you have gunk, try it!

P.S. If someone tells you to use that Magic sticky stuff to hold your scout badges on the shirt -- grab your Goo Gone and run! It's TOTALLY not worth it!

Thursday, July 28, 2011

New Uses for a Pill Box

My niece, Katie, and her daughter, Sammy, came to visit recently. Sammy, with hair so long she can sit on it, had a large bag of hair bows for the trip and inside the bag was this clever item:

Katie put enough elastics for a variety of hair do's in a simple weekly pill container. Brilliant!

My sister-in-law, Debbie, said she uses a large pill container for her earrings.

She puts all the pink ones in a row, all the silver ones in another row, etc. I think the smaller pill container would be great for your jewelry when traveling, too.

What great ideas! I wonder what else you can use pill containers for!?

P.S. Katie is an aspiring, up and coming author. You can read more about her exciting literary adventures here.


Wednesday, July 20, 2011

Kids and Chores, Part 4 -- Teens

By the time kids are teens, they’ve discovered tha, no matter how many times you tell them to “empty the dishwasher like a lion” or that they will get popcorn and a movie when all their chores are done, the fact is that household jobs are just not all that fun. And, I think most of us would agree. But, the work still needs to get done and mom should not do it all.

Teens need to participate in the responsibilities at home. As parents, you should be preparing them to live on their own as adults and soon they will have to do all the dishes and all the laundry all by themselves. They need to know, not only the skills of how to do these things, but the assurance that they are capable adults who can take care of themselves, their homes, their cars and even others. Jobs in the home can help teens feel confidence and capability and gives you an opportunity for praise.

A couple of tips on how to stop fighting and start get kids to work:

1) Use a timer. Give a certain time frame to accomplish a job and a reward for doing so: “If you get the dishes done in 20 minutes, you can stay up 20 minutes longer” or watch 20 minutes more of TV, etc. If the job is not done, you will need to exact a consequence: “You were supposed to clean the bathroom in 30 minutes and you took 45 so your bedtime is 15 minutes earlier.” Stick to the consequence so that next time the child knows that the job needs to be done in a reasonable time.

2) Consider giving kids an allowance that is tied to the completion of their chores. We believed in letting our children receive an allowance for jobs which they were then responsible to use for going to the movies, buying school lunch (instead of packing one from home), buying additional clothing or accessories, etc. Kids who want to have spending money on the weekend to hang out with friends tend to do their chores during the week.

3) Have a schedule for cleaning. If I was relaxing on the couch and you kept coming up to me with one job after another, I’d be annoyed. Your teenager is, too. Set a firm list of chores that each child needs to accomplish so he can see when he is done. Set specific times for when the chores should be done. In the summer, first thing in the morning is the best, before playing with friends or video games, etc. During the school year, chores may be split into two times. For example, before school your child may be required to make his bed, put dirty clothes in the hamper and load the dishwasher with breakfast dishes. After school, he may need to fold and put away his laundry and vacuum the family room before going out with friends. Hold onto the car keys until these things are done. If you have a working teen, work with his schedule each week so that doesn’t become a problem.

Teens are quite capable of doing nearly every job in a home. They can complete all facets of laundry, clean all rooms including appliances, prepare meals, take care of yard work, babysit for younger siblings. Don’t be afraid to work with your teen to learn how to do everything that an adult has to do. You never know when your child will be teaching someone else’s child how to wash their whites!

Wednesday, July 13, 2011

Kids and Chores, Part 3 -- Seven toTwelve Year Olds

Many parents feel like they’ve stepped onto a battlefield when it comes to school-age kids and chores. These previously delightful children begin to give you excuses, fail to do their jobs when assigned and often engage in amazingly developed arguments just to get out of doing the work. Remember that children ages six to twelve are often busy with lots of school and after-school activities and while they may have “time” to do these things, they frequently feel overwhelmed. This is no reason to withdraw chores from your “tween’s” list of to-do’s however. Having responsibilities in the home has too many great benefits for your child to let him off the hook.

To make chores go a little easier, be sure to deconstruct the task into manageable steps. Make sure to explain how to do the jobs and show them. I find it helpful, on a Saturday morning when everyone is busy doing their jobs, to go from child to child and spend a few minutes working along with them. I carry a cleaning rag and scrub with them or help to empty a few dishes, encourage and correct them, and then move on to the next child.

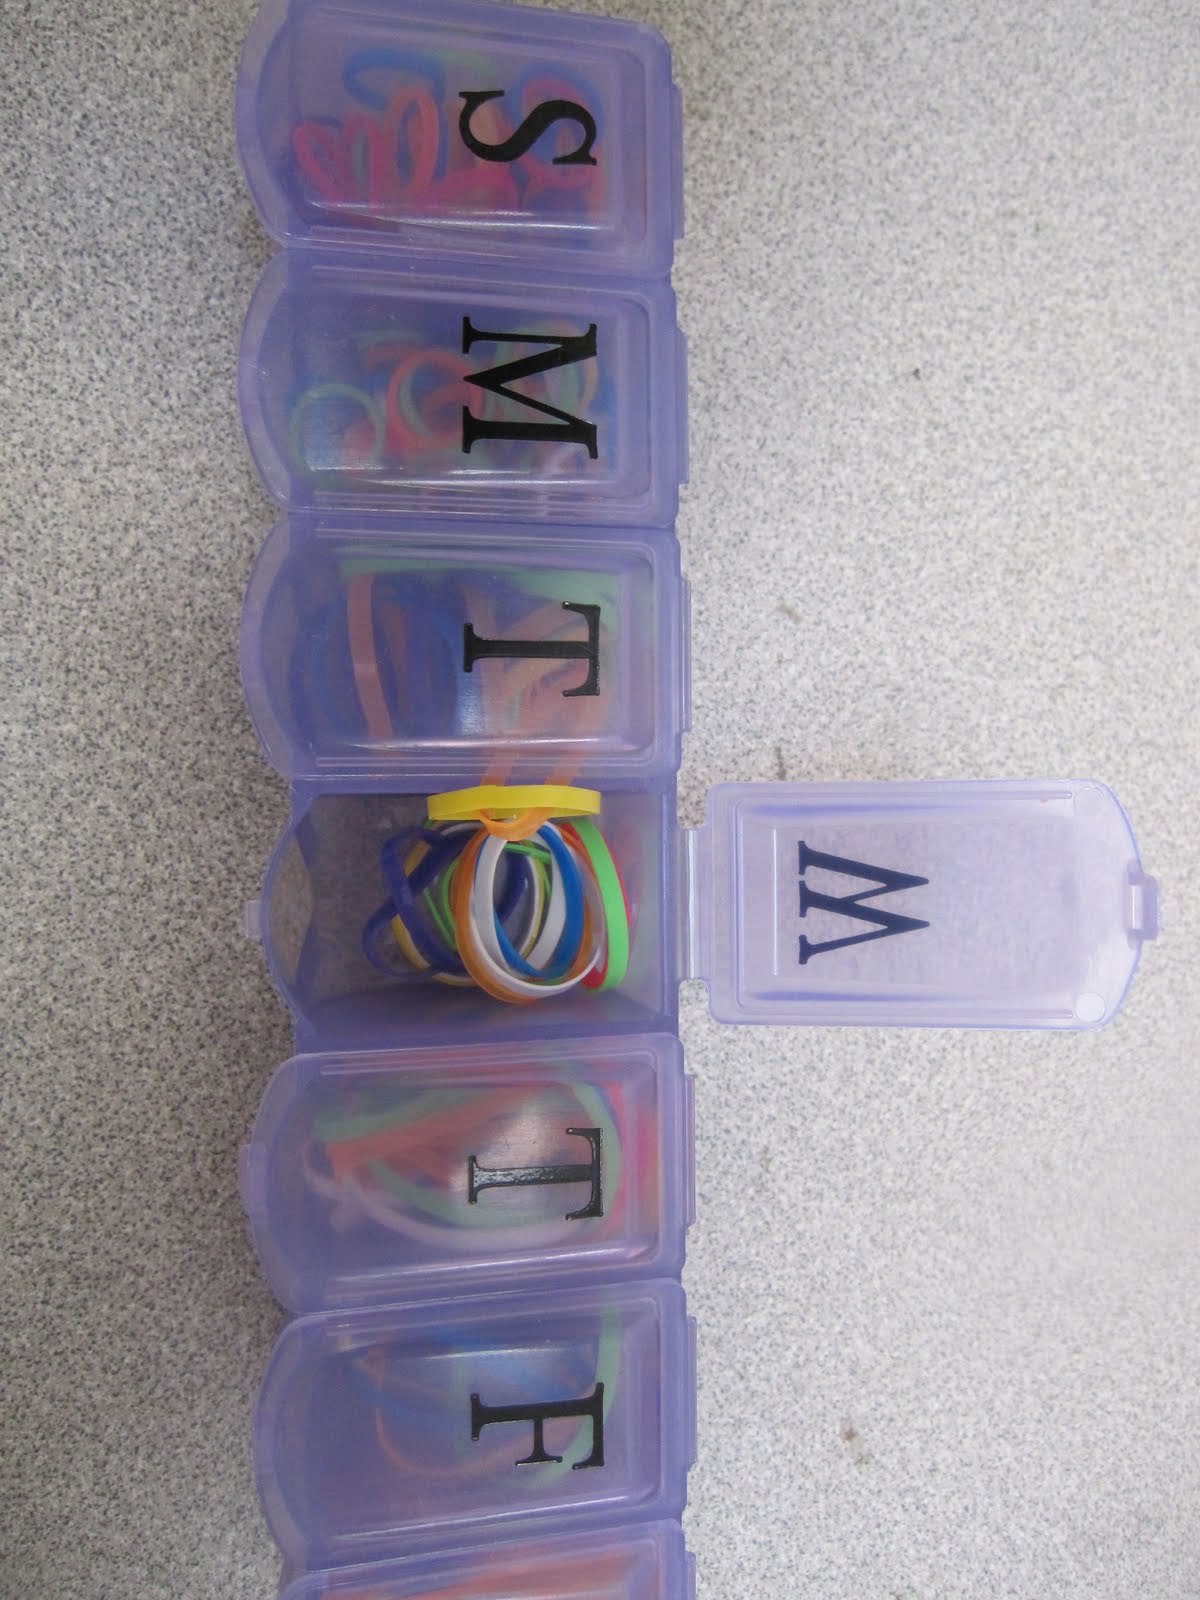
Children at this age like to have some say over the tasks they are assigned. Try writing the tasks to be done during the week and then let the children take turns choosing their favorite ones. Do you have kids who like to sleep in too late on Saturday morning? Posting the list first thing Saturday morning and instructing each child to choose four helps get sleepy heads out of bed.

Lastly, have fun. If everyone is working together on a Saturday morning or before school on weekdays, it’s a little more fun. Rewards can help boost participation and consequences can help them stay on track. Most of all, don’t forget positive comments and lots of praise for what they are doing. They might not act like they care about how nice the sink and counter are cleaned, but they will remember that you are proud of them.

In addition to jobs listed in Kids and Chores Parts 1 and 2, kids this age can:

1. Hand wash dishes

2. Empty and load dishwasher

3. Prepare simple meals and/or parts of the meals (especially salads, vegetables, etc.)

4. Clip coupons

5. Write grocery lists

6. Help with grocery shopping

7. Take out trash and recycle

8. Clean the bathroom (counters/sinks/toilets/mirrors)

9. Take care of pets (walking, brushing, litter boxes, backyard clean-up, etc)

10. Rake leaves

11. Pull weeds

12. Sort and wash laundry

13. Change bedding

14. Vacuum

15. Dust

16. Sweep floors and porches

17. Mop floors

18. Wash windows

19. Make and pack lunches

20. Wipe table and counters after meals

21. Shake rugs


Wednesday, July 6, 2011

Kids and Chores, Part 2 -- Four to Six Year Olds


Kids and chores are a challenge, but knowing what jobs your little ones can accomplish can be a big help in keeping your home organized. Four to six year olds are at a delightful age and perfect for learning how to contribute by doing jobs around the house. They have a growing vocabulary and can understand two-part directions (“Wash your face and brush your teeth.”) In addition, they love to please others and are willing to participate with siblings and parents in accomplishing chores. They love to make a game out of doing these things.

In addition to the list published in the Kids and Chores Part 1 post, these children can:

1. Clear the table

2. Set the table

3. Carry in and help put away groceries

4. Make beds and help change sheets

5. Help fold clothes

6. Match socks

7.
Help choose and set out clothes for the next day

8.
Set out backpack, shoes, etc for the next day

9.
Clean their own room

10.
Empty silverware from dishwasher (except sharp knives) and plastic bowls/cups

11.
Empty wastebaskets

12.
Bring in mail and/or newspaper

13.
Use small vacuum to pick up crumbs

14.
Wipe bathroom sink

15. Help wash the car

Tuesday, June 28, 2011

Kids and Chores, Part 1

Have you ever noticed that a big stumbling block to your home organization is those little darling children of yours? They leave messes in their wake wherever they go, and they do it right from birth. But they can also be little organization helpers. Taught to participate, they can actually ENJOY (at certain ages) helping to clean and organize their space. And, once taught, most children feel more comfortable in an orderly environment than in a chaotic one.

While YOU are not your children's maid, and they are not your servants, keeping a house of order is a joint venture. Little ones love to help and have quite a capacity for doing many chores. The next few posts we'll talk about what they can do.

Even toddlers are capable of doing some jobs and between the ages of 2 and 4, kids are eager to help. Include them in the daily chores before playtime. My daughter, Gen, does a cute thing with her kids: she wrote simple jobs on craft sticks and put them in a jar. Each day her little boys pick two "stick jobs" to complete. Here are some jobs that 2-4 year olds can complete:

  1. Feed pets
  2. Wipe up spots or messes
  3. Clean fingerprints off doors, light switches, appliances
  4. Wipe baseboards
  5. Dust
  6. Water plants and garden
  7. Put dirty clothes in hamper
  8. Take hamper to laundry room
  9. Put away folded clothes
  10. Help make the bed (especially bunk beds!)
  11. Take dirty dishes from the table to the counter
  12. Pick up toys and books

Monday, June 13, 2011

Pantry Makeover


Cami's pantry was WAY overdue for an organizational makeover. She was frustrated with the lack of order and wanted better use of her space. Extra deep shelves made it easy for things to get pushed back and lost.

The floor of the pantry had become a catch-all for everything and anything. Cami really wanted to put her large containers of flour and sugar there, but there was no room! Without a place for things to go, food was often tossed on shelves in the original grocery bags, making it impossible to find and use them later.

In an effort to create some order, Cami had bought plastic "can organizers" which were supposed to allow the cans to stack and roll easily. Unfortunately, that only happened for cans of the correct size (soup cans) and bigger things (enchilada sauce) just got stuck in the wrong place and messed everything up. In addition, these "organizers" were shallow and so other things got put in front of them and they were essentially unusable.

We began by emptying the entire pantry and lining up food according to their type -- all the crackers together, all the baking mixes and goods together, etc. Cami was surprised to find out how much food she really had! Six boxes of graham crackers, 4 cans of cocoa mix in addition to boxes and boxes of cocoa packets, dozens of packages of pudding and snack crackers, etc. What Cami realized is that her disorganization was costing her a lot of money spent to buy things she already had. Sadly, some food was so old that it had to be thrown away. More money lost. The good news was that she wouldn't have to buy cake mixes for a long time!
We began by creating a Snack Box for Cami's children. Now Cami can control what things they have by what she put in their box and the kids love it because they can access it themselves. Cami even made one for her husband with the granola bars he likes and things he adds to his lunches each day.

While it's fun to use brand new plastic containers for organizing, notice that with Cami's pantry, we used lots of free paper boxes and empty plastic containers from food. Use what you have. We combined as many duplicates of food as we could, eliminating half full boxes of crackers. And, instead of several boxes of fruit snacks and drink packets (see upper right shelf), we put them all into one larger container and threw away lots of unnecessary boxes, condensing space.

We stacked older food to the front and the newer products of the same kind toward the back. We used containers for most things so packets and small bags didn't get lost behind. Notice on the bottom left, we stacked her taller canisters in back, shorter in front and labeled them clearly and brightly so she could easily find what she needed.


Does it look great?! Cami said that every time she looks in the pantry she is surprised! It's just fun to open the door and look at the beauty of an organized pantry.

Sunday, June 5, 2011

The Family Binder

I have an old book ("PLANNED, PREPARED AND COMPLETED SINCE THE WORLD WAR") called The Lincoln Library of Essential Information. Something of a precursor to an encyclopedia, this book contains what was considered the essential information of the time all in one volume.

I think of a Family Binder as much the same thing. It is one place where all the family's essential information can be found, quick and easy.

A family binder might include:

Appliance information (model numbers so you can replace parts and the size of the vac bags);

auto maintenance log so you know when you last changed the oil, rotated the tires and when it's time to do it again;

Babysitter sheets allowing you to leave quick and complete instructions about food, bedtimes and emergency phone numbers;

Birth Certificates, Passports, Car Titles, Deeds -- or if you're worried about putting them in the binder, put a copy of them and a note in the binder, indicating where they are actually located

Computer logins and passwords

Emergency Information -- names and numbers for those most important people

Food Storage Inventory

Gardening Logs -- what did you plant, and where, and did it grow? What annuals do you like to use most, when do you like to plant your tomatoes and what variety works best in your soil?

Grocery Lists -- pre-printed forms help you never forget something and make going through the store quick.

Important Dates so you don't forget anniversaries or birthdays

Travel Packing Checklists and Itinerary forms to make trip planning a breeze

This is just a start to the many things a family binder can contain. They have valuable information and even more mundane (how to start the lawn mower and what size are your tablecloths). The binder should be kept in an accessible, yet safe place and will quickly become well-used!

(I have created forms for many of these and other sheets. They are available, including a personalized cover sheet, for $5 by emailing me at livelifeorganized23@gmail.com. Please include the name you want on your cover sheet.)


Saturday, June 4, 2011

Desktop Filing System

A desktop filing system is a great way to keep control of those papers you frequently use. Your file should be small, but big enough to hold standard file folders. Go through it often to make sure papers don't build up there. Your desktop file may contain:

Bills: If you pay your bills at this desk, or if you pay them somewhere else, this is a good place to keep them until bill-paying time

Invitations: Add the dates and times to your calendar, then file the invitation (sans the pictures, envelopes and other superfluous stuff) so you have maps or other necessary information. When the event is over, toss the invitation.

Individuals: Each family member should have a file. In his or her folder, keep sports schedule, music lesson information, current school information, current medical records, etc.

Household: Things you use often such as grocery lists, cleaning lists, job charts, etc.

Coupons: Grocery store, restaurant discounts and other deals

Receipts: If you save your receipts, you can file them here until you enter them in your computer program or ledger books.

Take-Out Menus: Easy to pick up at your favorite places, easy to find when you need them, along with the phone numbers

You may also want to include things like a notebook, clipboard, post-its, pens and scissors, envelopes and stamps, depending on what your desk contains. If your desktop is too small to hold these kinds of files, you may want assemble these files on a wall-mounted system.

Wednesday, June 1, 2011

Cookbook Collections


I have a friend who collects aprons. I have a friend who collects African artifacts. I have a friend who collects spoons. One thing they all collect is recipes. Me, too. I'll bet you do, as well. Most of us are always looking for a new, fabulous recipe and we love those tried and true. While we may have lots of cookbooks, most of us use the same ones over and over. And most of us have some type of file or personal recipe collection. And sometimes, they just simply aren't functional for us.


I'd like to make a few suggestions for keeping your personal cookbooks in tidy order, easy to use and sturdy enough to stand up to vigorous use:
  1. Use standard 8 1/2 x 11" paper. Recipe cards/boxes may be cute, but what do you do with a new recipe from a magazine? Put it in a pile until you get time to transcribe it to the card? No! They are easier to type, store on your computer, reprint when needed.
  2. Plastic sleeves are great. They protect your recipes and they allow for you to quickly slip in a recipe you want to try.
  3. Got lots of recipes? Use several small binders instead of one giant one. They are more convenient to handle and nice when making several recipes (such as during Thanksgiving time, etc) to have two books open at once. I like no larger than 1" binders, divided by categories such as "Main Dishes" and "Bread & Breakfasts."
  4. If you have cookbooks that you keep because you use a FEW recipes out of them (and don't want to keep them based on their literary or collective value), take your favorite recipes out of the book and put in your personal recipe file, then get rid of the cookbook.
  5. If you love to collect and try new recipes, designate a binder full of empty plastic sleeves. Add new recipes to try there, just slipping them into the sleeves. Make a goal to try one every week or so. If they pass your taste tests, then put them in your regular binder. If not, throw them away. If you don't have enough room for all the recipes you want to try, eliminate some you've lost interest in trying before adding any new ones.